
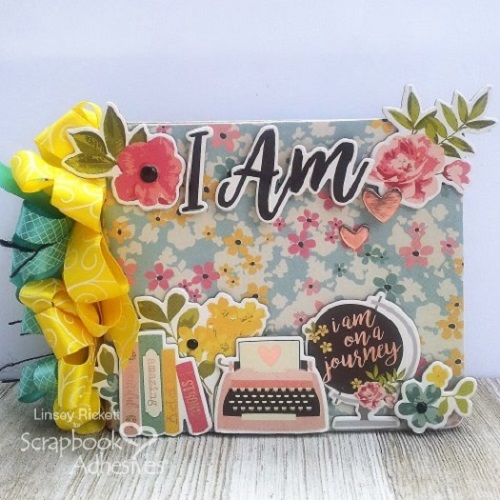
My chipboard mini album featuring the awesome E-Z Runner® Grand Refillable Dispenser was so easy and fun to make. I hope you enjoy my easy tutorial!
Creating a Mini Album
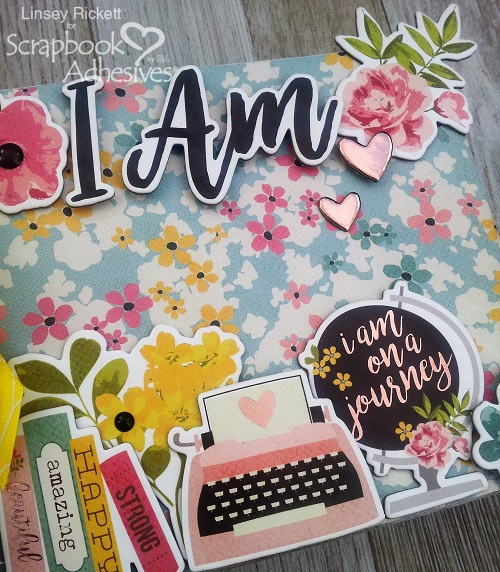
I started with a naked 4×4 chipboard mini album. I cut my cover patterned paper to size. Then I used the E-Z Runner® Grand Refillable Dispenser to permanently adhere the paper to the album base.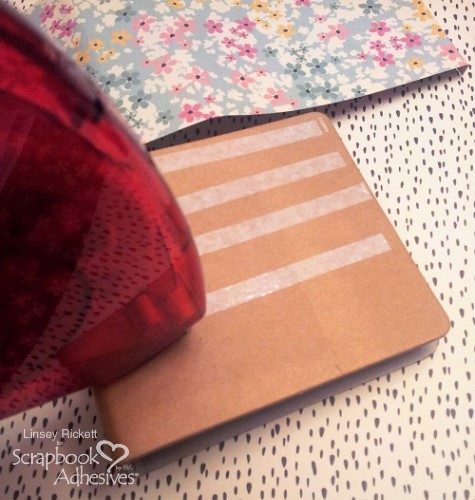
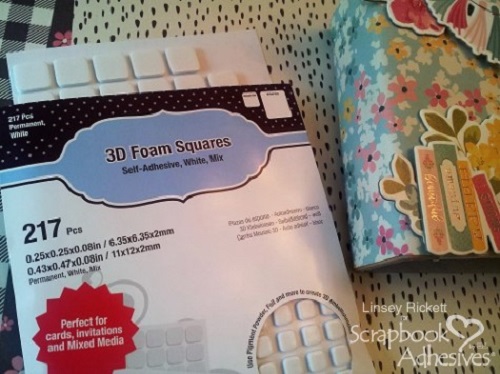
Next, I decorated the front of the album using chipboard pieces, adding White Mix 3D Foam Squares to some of the pre-made embellishments to create more dimension and interest. This product is great because it contains a mix of small and regular 3D Foam Squares, which is extra useful when working with different sized embellishments.
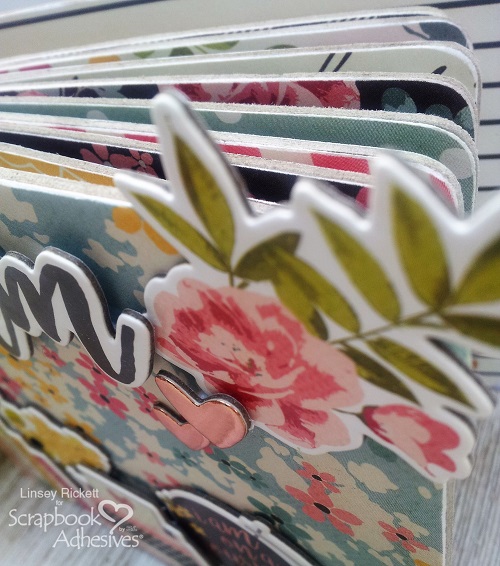
Complete the inside of the album and chipboard pages in the same manner as the front cover.
Tip: use a nail file to gently remove any excess paper from page edges and to make the corners smooth.
Now, my project is complete and ready to be filled with beautiful memories! Simply add photos and ephemera to the pages using adhesives from Scrapbook Adhesives by 3L®.
Thanks so much for stopping by and letting me share my chipboard mini album with you!
Until next time, happy crafting!
–Linsey
Scrapbook Adhesives by 3L® Products used:
E-Z Runner® Grand Refillable Dispenser
3D Foam Squares White Mix
Other:
Maya Road 4×4 Chipboard Album; Simple Stories I Am Patterned Paper, Chipboard Elements, Enamel Dots; RRR 5/8″ Satin Swirls Ribbon Daffodil, Crosshatch on Tropic Satin Ribbon, Burlap String Black; Buttons; Nail File, Trimmer.
1 comment:
So springy and girly...what I joy to open it and create more lovelies inside! It's beautiful, Linsey! You have a gift, my friend.
Post a Comment